使用OpenCV和OCR进行文本检测和提取
这是学习OpenCV过程中,直接翻译的英文文章。
环境准备
Python - 3.x (我使用的测试环境是3.10.0)
OpenCV - v4.6
1 | $ pip install opencv-python |
Tesseract Engine - v5.2.0 下载地址
如果需要识别中文(或其他语言),需要下载对应的语言包,拷贝到Tesseract Engine的tessdata目录下。
Pytesseract - v0.3.10
1 | $ pip install pytesseract |
实战
详细步骤
- 引入必要的包,配置pytesseract的命令路径
- 使用OpenCV读取图片
- 检测图片中的文本和数字
- 单独检测和提取每个字符
- 在图片中的每个字符上创建边界框
- 在图片中的每个检测到的单词上创建边界框
- 单独检测数字和字母
Step 1 : 引入必要的包,配置pytesseract的命令路径
1 | import cv2 |
如果你的tesseract安装在其他路径,请对应修改pytesseract配置
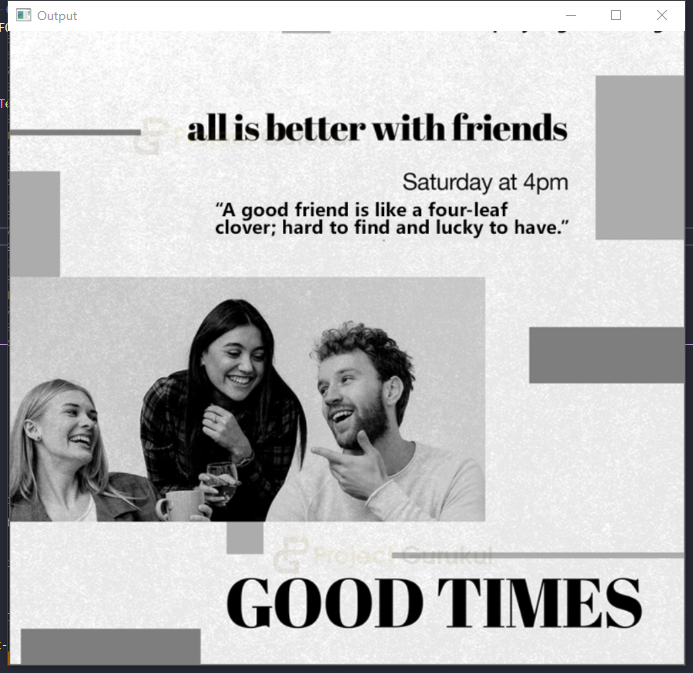
Step 2 : 使用OpenCV读取图片
1 | # Reading image |
tesseract 引擎玩的是RGB, 而OpenCV读取图片为BGR。因此需要使用cvtColor先转换为RGB。
运行结果:
Step 3: 检测图片中的文本和数字
1 | # Detect texts from image |
如果要使用其他语言包,可以增加lang参数
1 | texts = pytesseract.image_to_string(img, lang='chi_sim') |
打印输出:

Step 4: 单独检测和提取每个字符
1 | # Return each detected character and their bounding boxes. |
打印输出:
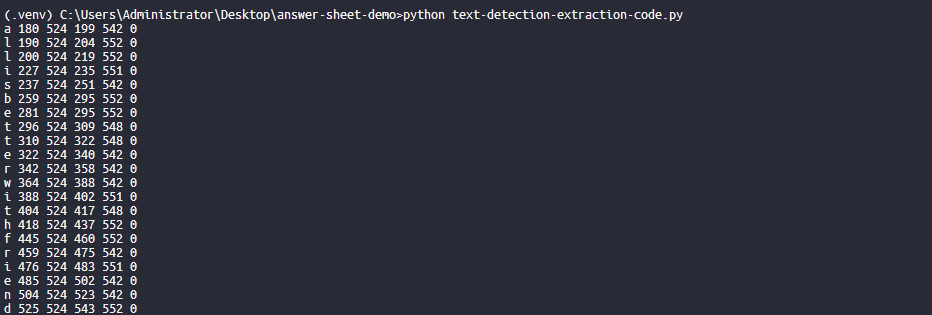
输出的第一列是识别到的字符,2、3、4、5列表示它的位置,分别是左下角的横坐标;左下角的纵坐标;右上角的横坐标;右上角的纵坐标。
需要注意的是image_to_boxes 这里的横纵坐标系,原点是左下角,而opencv的原点指的是左上角。
Step 5: 在图片中的每个字符上创建边界框
1 | def draw_boxes_on_character(img): |
shape返回一个元组,包括图像的宽度和高度image_to_boxes返回所有识别出来的字符信息和位置信息。每一行表示一个字符。cv2.rectangle创建每个字符的边界框cv2.putText在每个识别到的字符旁边再画一个文本
输出:

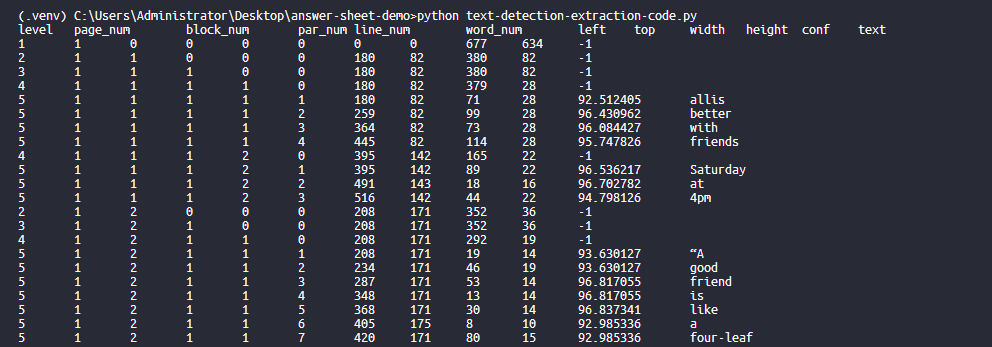
Step 6: 在图片中的每个检测到的单词上创建边界框
1 | # Return raw information about the detected texts |
打印输出:
我们可以使用下面的方法创建边界框
1 | def draw_boxes_on_text(img): |
image_to_data返回了单词、位置信息以及其他一些信息- 第一列是标题,所以我们使用
count > 0排除了第一列 - 同样的,使用了
cv.rectangle和cv.putText画边界框和文字
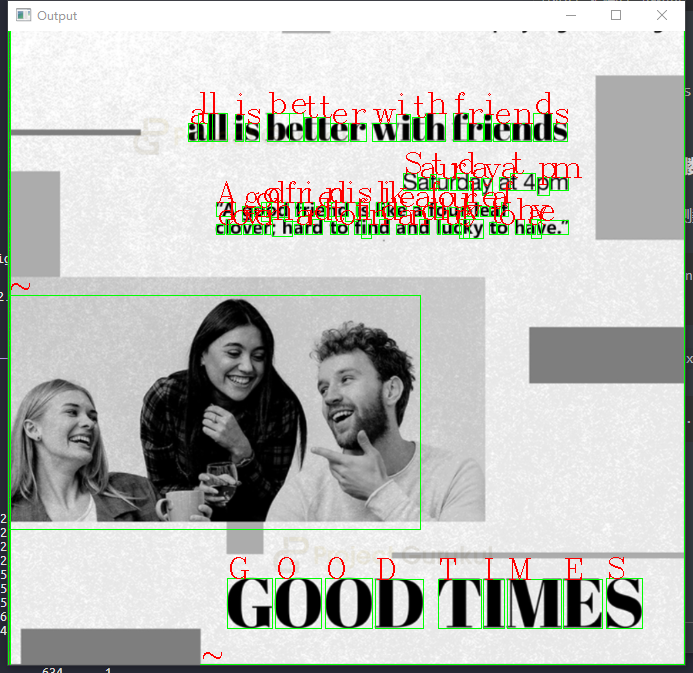
输出:
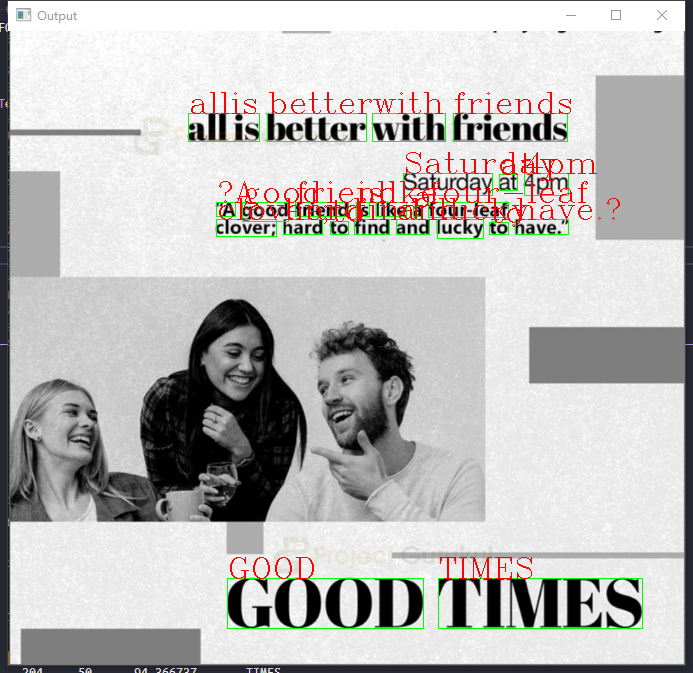
Step 7: 单独检测数字和字母
我们也可以只检测数字,或者只检测字母。
1 | import string |
再在image_to_boxes时传参
1 | pytesseract.image_to_boxes(img, config =conf) |
看下效果:
- 可以看到,Saturday at 4pm中的4并没有检测到。
我们可以用同样的方式只检测数字。
1 | conf = r'-c tessedit_char_whitelist='+string.digits |
更多的关于pytesseract的用法可以在这里找到。