Windows下编译cef使其支持H.264
由于官方自动构建的Windows平台下的cef并不支持H.264,需要手动编译。
环境准备
除非你能忍受长达数天的下载和编译时间,请不要使用个人电脑!
除非你有超级稳定的梯子,请不要使用个人电脑!
除非你的PC超高配置,请不要使用个人电脑!
在折腾了两天之后,我终于换到海外服务器进行编译了!
一台Qiang外的高配置服务器
我在阿里云租用了美国硅谷的服务器(可以按小时计费),配置大概是这样(租金大概9元/小时)。
1 | CPU&内存: 16核 32GiB |
一定要租国外(或香港)的服务器。
操作系统建议选英文版,如果不小心选了中文版,登录后把区域和语言改成美国。
服务器租好后,安装以下软件:
Visual Studio 2019 仅安装“使用C++的桌面开发”即可
-
Visual Studio 2019的安装选项中并没有这个选项,我需要编译的最新稳定版本(4664分支, 96.*版本)必须需要这个版本的SDK。别问我怎么知道的。
Python 3.x 安装时勾上“把Python加入系统环境变量中”
Chrome 由于Windows Server 2019自带的浏览器只有IE 11, 为了舒服,我还单独下载了Chrome
Notepad++ 为了方便修改文件,建议装个Notepad++
编译
目录结构展示
1
2
3
4
5
6
7
8
9
10
11|--dirty/
| |--depot_tools/
| |--automate/
| | |--automate-git.py
| |--chromium_git/
| | |--chromium/
| | | |--src/
| | | | |--cef/
| | | | | |--binary_distrib/
| | | | |--out/
| | | | | |--Release_GN_x86/下载工具depot_tools.zip,然后解压,更新
1
2
$ cd dirty\depot_tools
$ update_depot_tools.bat将depot_tools目录添加到系统的PATH环境变量中
下载自动编译脚本到automate目录
下载代码
1
2
$ cd dirty
$ python automate\automate-git.py --download-dir=c:\dirty\chromium_git --depot-tools-dir=c:\dirty\depot_tools --branch=4664 --no-distrib --no-build
download-dir: 代码下载目录
depot-tools-dir: 工具目录
branch: 要编译的分支,我选择了最新一个稳定版本的分支
no-distrib: 不打包
no-build: 不编译
生成工程文件
1
2
3
4
$ set GN_DEFINES=is_official_build=true proprietary_codecs=true ffmpeg_branding=Chrome is_debug=false target_cpu=x86 is_cef_sandbox_build=false
$ set GN_ARGUMENTS=--ide=vs2019 --sln=cef --filters=//cef/*
$ cd dirty\chromium_git\chromium\src\cef
$ call cef_create_projects.bat修改dirty\chromium_git\chromium\src\third_party\ffmpeg\chromium\scripts\build_ffmpeg.py
找到configure_flags[‘Chrome’].extend,大概在Line 1014
1
2
3
4
5configure_flags['Chrome'].extend([
'--enable-decoder=aac,h264,mp3,mpeg4,amrnb,amrwb,flv',
'--enable-demuxer=aac,mp3,mov,avi,amr,flv',
'--enable-parser=aac,h264,mpegaudio,mpeg4video,h263',
])修改dirty\chromium_git\chromium\src\third_party\ffmpeg\chromium\config\Chrome\win\ia32\config.h
在第4行下增加如下代码
1
编译
1
2
$ cd dirty\chromium_git\chromium\src
$ ninja -C out\Release_GN_x86 cef打包 (你可能不需要此步骤,直接使用编译出来的libcef.dll替换官方编译包中的即可)
1
2
$ cd dirty\chromium_git\chromium\src\cef\tools
$ make_distrib.bat --ninja-build --minimal
打包完成后可以在dirty\chromium_git\chromium\src\cef\binary_distrib下找到打包的文件
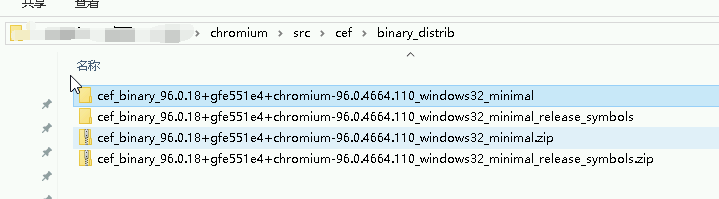
- 当然,你也可以直接享用我的成果,点击我的Google Drive共享链接进行下载
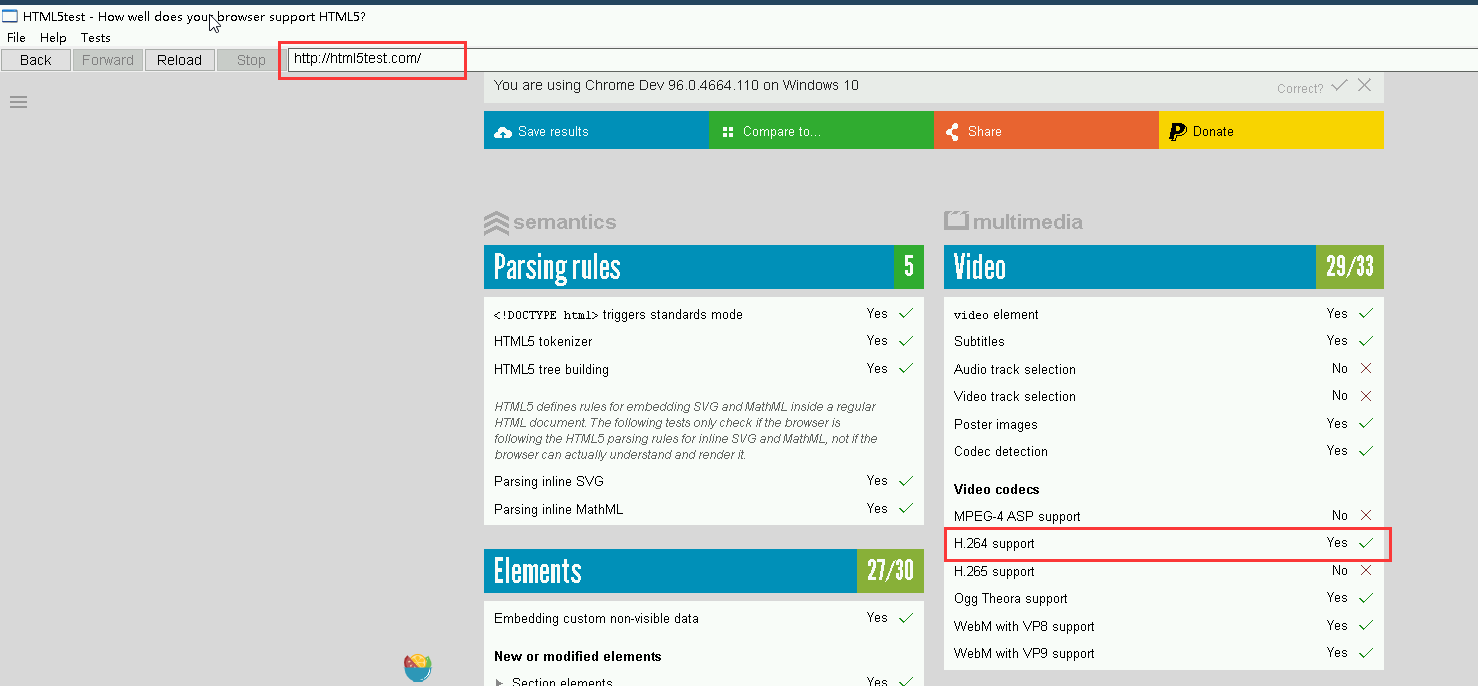
测试
运行 dirty/chromium_git/chromium/src/out/Release_GN_x86下面的cefclient.exe, 键入https://html5test.com/,可以看到已经支持H264了
可能遇到的问题
链接时提示”cannot create a temporary file”
修改组策略,不对每个会话使用临时文件夹。
运行
gpedit.msc, 计算机配置->管理模板->Windows组件->远程桌面服务->临时文件夹,启用“不对每个会话使用临时文件夹”。英文系统下是,Computer Configuration->Administrative Templates->Windows Components->Remote Desktop Services->Remote Desktop Session Host->Temporary folders, Enable “Do not use temporary folders per session”
编译时提示Unicode编码相关的错误
请确认区域和语言是否修改成了美国和英文。